|
|
本帖最后由 MySense 于 2012-9-27 08:41 编辑
by Scott Rowley
The following is an article I came up with after setting up my HTPC with XBMC for the 2nd time. I originally had Boxee on it and I do like Boxee – but I just don’t use the online content that much and XBMC is slightly more customization friendly. At any rate – this is what I’ve come up with. If you find it useful, have questions or comments please leave me a message in the comments below the article.
Assumptions: You have Windows 7 installed on a desktop PC.
Download & Install XBMC – http://xbmc.org/download/
Setup XBMC to see your Media
Videos > Add source > Browse > Find & Select Folder containing your Movies
– If you have additional locations click the Add button and then Browse to locate
– Repeat for as many locations as necessary
Once you have all of your Movie paths entered you can navigate down to the bottom and change the name, I recommend “Movies”.
Click OK
Select a “Scraper” to retrieve movie information – For movies you will want to select (Movies) themoviedb.org.
Click OK
Repeat the same steps for TV, selecting the appropriate scraper for TV.
Videos > Highlight “Movies” > Hit “C” and select the “Scan for new content”.
Wait for it to finish adding content then repeat for any other media you added, such as “TV”.
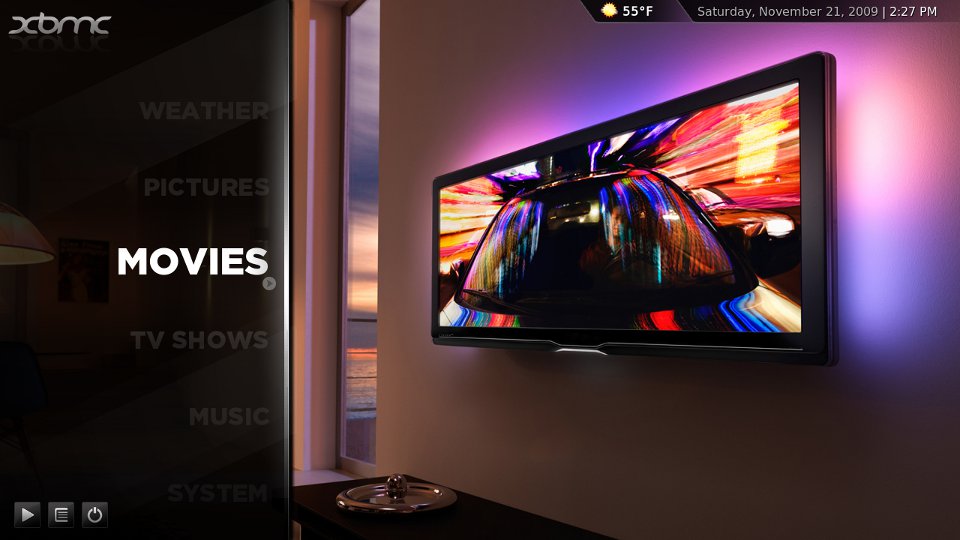
Once you have content you can now change how your Skin looks – I prefer to have “Videos” replaced by “Movies” and “TV Shows”
System > Skin >
– Select “Hide – Videos”
– Deselect “Hide – Movies” and “Hide – TV shows”
– Show/Hide anything else you want to.
Now we’ve got our basic setup completed. If you want a simple setup that you can turn on manually and watch movies/tv you can stop here. If you want a HTPC that will power itself off at night,
turn itself on in the morning, boot straight into XBMC, and can be controlled by your phone – then the rest of this tutorial is for you.
Optionals
Ok, so you’ve decided to stay in it for the long haul. Awesome. I will now fully seat my Geek hat on my head and quote Saurumon from Lord of the Rings, “We have work to do”. Don’t let that scare you though, almost everything here is simple – it just takes a bit of time to get through it all.
Set power options
So first things first, since this is a Media center we don’t want this puppy over heating from being on all the time.
We’ll need to go into the control panel and visit “Power Options”.
Start > Control Panel >
– Change the view at the top right to “Small Icons” or “Large Icons”
– Select Power Options
– Find whichever power plan you have selected
– Click “Change plan settings”
– On mine I have selected to never turn off the display (Caution: You could potentially get screen burn in with this, make sure to either set a screen saver or turn off your monitor/tv when not in use)
– Put the computer to sleep: 1 hour (Don’t worry, it won’t turn off in the middle of a movie. If your computer is doing something it won’t go to sleep).
– Save your changes and exit.
Now we have it set to save power and your PC from wear and tear. Unless you have something otherwise working in the middle of the night lets set the computer to turn itself off after hours.
Start > Type in “Task scheduler”
– Click “Action”, and select “Create Basic Task”
– In the “Name:” box type something like “Nightly Shutdown”, nothing is needed for description unless you want it, hit Next
– Keep the default selection, “Daily”, hit next
– Change your “Start:” time to whenever you want the computer to shut off every night, for mine I’ve entered in 1am.
– Keep the “recur” set to 1 day, hit Next
– For the action keep the default of “Start a program”, hit Next
– In the “Program/script” box enter in “shutdown” (no quotes)
– In the “Add arguments (optional)” box enter in “-s” (no quotes), hit Next
– Review everything for accuracy and then hit Finish.
Now that we know our HTPC will be off after 1am (or your desired time) we may want to (I do) set up the PC to automatically boot up again at a particular time. On this step your computer
may or may not allow for this. I’ll give the basic steps here though.
Reboot your PC and be ready to hit your startup button as you see the BIOS screen (this is usually F2).
Once you’ve hit the button you should be loaded into the BIOS. From here we will need to look for boot options. Once you’ve found this you can look for the equivalent of “Automatic Booting”.
Select the time and day (once you start selecting the day it should let you select “Every day”.
My kids sometimes watch movies during the day so I presently have mine set to boot back up at 8am every day. Really if I could I would just set this for the weekends only and the rest of the days
have it boot up around 4pm. Make you selections that work best for you, just keep in mind the longer you can have your PC off the longer your PC will last and more you’ll save on electricity.
Save and Exit.
Ok, so now we have our PC scheduled to power off and back on again later. We’re nearly done!
Boot into XBMC
Now, since this is going to be a XBMC HTPC why not just have Windows boot straight into XBMC? This is a bit odd and perhaps there is an easier way but this is what I’ve done:
Start > All Programs > Right click and drag “Startup” to the desktop, create a shortcut for it. (That was the odd part).
Now drag your XBMC shortcut from the desktop and place it into the Startup folder. Now when your computer automatically boots itself up it will automatically start XBMC once its in windows. (This
will also load XBMC even if you manually reboot it of course).
Reboot your computer and test that Windows loads XBMC once its loaded into windows (be patient – it does XBMC last after anything else it needs to do for itself). Usually this only takes 10 seconds
or so.
Now you may notice that XBMC is in windowed mode (or may not be). XBMC remembers the last state that it was in. So if you left out of XBMC while it was in a windowed mode and rebooted it will
again be windowed mode now. I don’t really like this and I always want it to boot into Full Screen mode. For this we’ll need to setup the advanced settings file for XBMC, its not there by default.
Before we can do that though we’ll need to be able to view hidden files/folders. Back to the control panel!
Start > Control Panel > Folder Options >
– Click the “View” tab
– Under “Hidden files and folders” select “Show hidden files, folders, and drives”.
– We also need to deselect “Hide extensions for known file types”
– Click OK to save the change
Now we’ll be able to see the folders we need
Start > Computer > Users > YOUR_USER > AppData > Roaming > XBMC
– Right click in the open space and select “New” > Text Document
– In the text document paste in the following:
<advancedsettings> <fullscreen>true</fullscreen> </advancedsettings> Save the file as “advancedsettings.xml”, exit.
Note the full name of the file as its listed in the folder. The name is probably now “advancedsettings.xml.txt”, thats not right. Change the name to make sure its advancedsettings.xml.
The icon for the file should change from a txt file to something else – then you know you’ve got the right extension. Double check you have the name typed right and have no typos.
Check your work
– Open XBMC and change it to windowed mode (Hit \ to change to windowed mode)
– Reboot the computer
– Wait for XBMC to load, is it in fullscreen mode? It should be.
You may note that while XBMC is indeed in full screen you still have the windows taskbar down at the bottom. Right click on the bar and deselect “Lock the taskbar”, then right click on the bar, select properties and select “Auto-hide the taskbar”. Now it will go away when not in use.
|
|

 窥视卡
窥视卡 雷达卡
雷达卡 发表于 2012-9-27 08:32:54
 提升卡
提升卡 置顶卡
置顶卡 沉默卡
沉默卡 喧嚣卡
喧嚣卡 变色卡
变色卡 抢沙发
抢沙发 千斤顶
千斤顶 显身卡
显身卡


 发表于 2012-9-27 08:52:11
