|
|
本帖最后由 craftman 于 2013-1-30 22:27 编辑
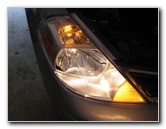
How to replace the low/high beam, turn signal and side marker bulbs in the headlights of a 2007-2012 Nissan Versa.
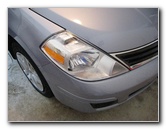
| | | This automotive "how-to" guide was specifically written to assist owners of the 2007 to 2012 Nissan Versa hatchback or sedan in replacing the combination low/high beam, turn signal or front side marker (parking) light bulbs in the headlight assemblies.
Owners of other related vehicles such as the Nissan Tiida, Latio, Cube, Leaf, Altima, Sentra, Maxima, Rogue, Murano, Xterra, Note, Micra, Wingroad, Grand Livina, Pulsar, Sunny, Almera, Aprio, Platina, Dodge Trazo, Dacia Logan, Sandero, Renault Clio, Modus, Twingo and the Grand Livina may also find these DIY instructions to be helpful.
Replacement bulbs with their part numbers are as follows: Low/High Beam # 9003 or HB2, Turn Signal #7507, and Front Sidemarker (Parking) # 2827 or WY5W. No tools are needed to replace any of the three headlight bulbs in a 07-12 Versa.
|
|
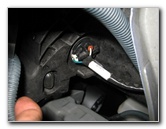
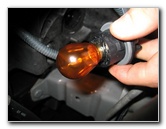
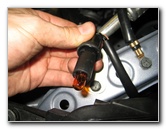
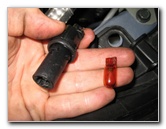
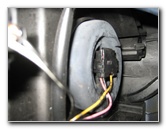
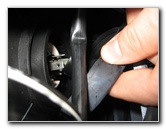
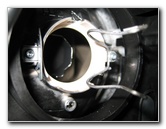
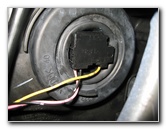
| | | The dual filament low and high beam bulb is located at the middle of the headlight assembly. Look behind the headlight in the engine bay and gently pull off the black plastic power connector from the low/high beam bulb.
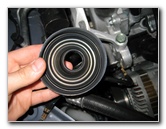
Then remove the black rubber dust boot that surrounds the headlight bulb and set it aside in a safe place.
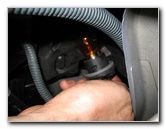
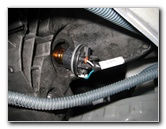
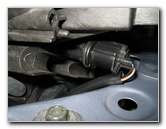
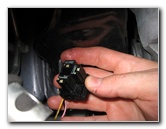
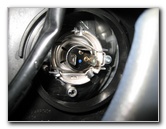
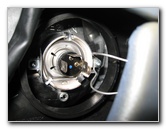
| | | | The headlight bulb is held in place by a two prong metal retaining arm.
Push on the left (driver) side of the metal retaining arms to unhook them both and then swing the clip off the rear of the bulb.
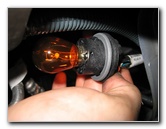
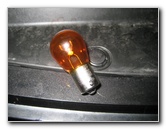
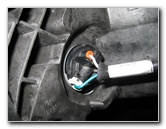
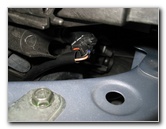
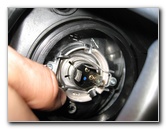
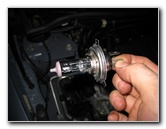
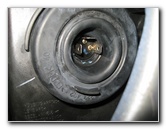
| | | | Once the metal retaining clip is out of the way, you can easily pull the headlight bulb out of the housing.Insert the new 9003 or HB2 low/high beam headlight bulb into the headlight assembly with the three metal tabs orientated as they are in Picture # 12 above.
Try to avoid touching the glass part of the new halogen bulb with your fingers or to anything greasy in the engine bay. If you do get the bulb dirty, wipe it clean with a paper towel moistened with rubbing alcohol.
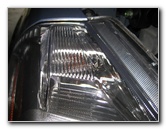
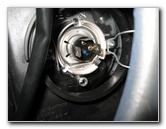
| | | | Swing the metal retaining arm back over the headlight bulb and hook the two arms in place to secure the bulb.Push the rubber dust boot on to the rear of the headlight assembly to protect the new bulb.
Carefully push the power connector plug on to the bulb's metal contacts until it is fully seated.
|
|
|

 窥视卡
窥视卡 雷达卡
雷达卡 发表于 2013-1-30 22:12:39


 提升卡
提升卡 置顶卡
置顶卡 沉默卡
沉默卡 喧嚣卡
喧嚣卡 变色卡
变色卡 抢沙发
抢沙发 千斤顶
千斤顶 显身卡
显身卡